Contents:
Cannot Install Google Chrome Overview
Users often complained that Chrome install fails due to unspecified errors. Windows 10 Chrome not installing is rather annoying if you need to search something on this browser.
Thought Google Chrome has been said very useful in our daily use, Chrome won’t install Windows 10/11 is also extremely common.
Here according to the popularity of this Chrome error, this thread would focus on telling you what to do to repair Chrome installation errors Windows 10, which include Chrome setup not running, Google Chrome installation failed (error code 0xa043), Google Chrome install failed to start, not working.
Whatever your Chrome issue is, it is wise for you to make reference to this thread if you feel like to resolve the Windows 10 won’t let me install chrome.
How Do I Fix Can’t Install Google Chrome Windows 10?
As long as you stumble upon the problem with Chrome installation, there must something goes wrong with your application settings or there is something hindering you from downloading and installing Chrome on Windows 10. From this article, you can figure out what causes your Chrome won’t install error.
Just try the following ways until you won’t run into Chrome not installing.
Solutions:
- 1: Uninstall Your Antivirus Software
- 2: Change Background Intelligent Transfer Service Startup Type
- 3: Update the Network Driver
- 4: Change Registry Editor for Chrome
- 5: Run Microsoft Application Troubleshooter
- 6: Enable User Account Control to Fix Chrome Setup Not Running Windows 10/11
Solution 1: Uninstall Your Antivirus Software to Solve Chrome Cannot Install Windows 10
As for some users, for the sake of security, you may have downloaded at least an antivirus program, such as McAfee and Avast.
But sometimes, these third-party applications can prevent Chrome from downloading and installing on Windows 10/11. So when you get into the Windows 10/11 issues with chrome, the first thing you may as well do is to remove these programs from your PC, thus fixing can’t install Google Chrome on Windows 10/11.
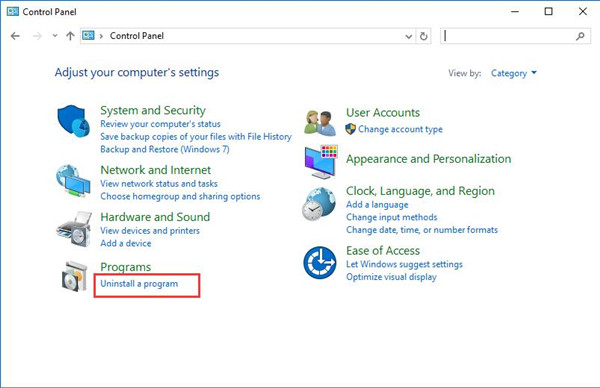
1. Go to Control Panel.
2. Try to View by Category and then select Uninstall a program under Programs.
3. In Programs and Features window, locate Avast or other antivirus software and then right click it to Uninstall it.
4. Soon after that, reboot your PC to take effect.
While you login in again, attempt to install Google Chrome again to see if you have solved the Chrome setup not running Windows 10 without the hindrance of the third-party antivirus application.
Here if you would like to make use of some tools to protect the safety of your computer from virus, you would better take advantage of Windows 10 embedded tool – Windows Defender to help you achieve your goal. And here is a tutorial: how to configure Windows Defender to protect your computer.
Solution 2: Change Background Intelligent Transfer Service Startup Type
From another perspective, the services on Windows systems, such as Background Intelligent Transfer (BIT), are closely related to the performance of application installation.
Especially, BIT is used to control the delivery of background programs, which means the installation on Windows 10 has to be allowed by BIT service.
In this sense, it is necessary for you to check the settings for BIT so as to fix Windows 10 installation failed chrome.
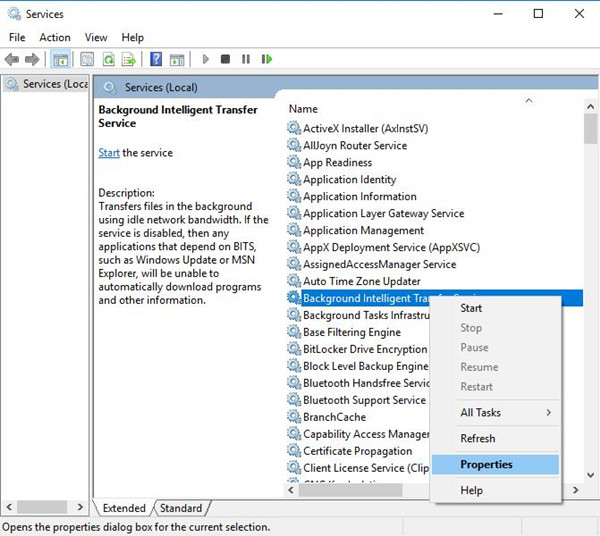
1. Type in Services in Start search box and then hit Enter to navigate to Services.
2. In Services window, scroll down to find out Background Intelligent Transfer and then right click it to open its Properties.
3. In BIT Properties window, find out Startup type and then decide to set it as Automatic.
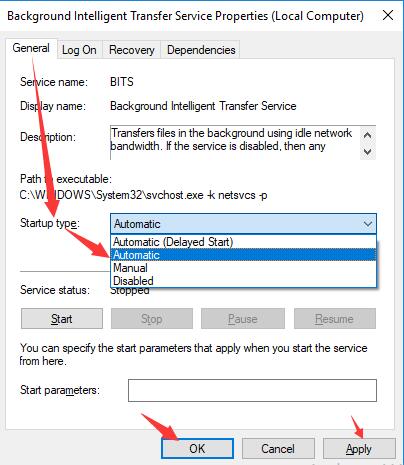
Then hit Apply and OK to save changes.
Now you can see there is nothing keeping Windows 10 from installing chrome. Can’t install Chrome Windows 10 has just resolved by you successfully.
Related: Service Registration is Missing or Corrupt on Windows 10/11
Solution 3: Update Network Driver to Solve Google Chrome Won’t Install Windows 10/11
Usually, if your WIFI keeps dropping, it is normal that you are unable to get Chrome running on your PC. Hence, for the purpose of saving the trouble that the network connection brings Chrome not installing, you should at least make sure your wifi driver is the most updated and compatible with Windows 10/11.
You can decide to update network driver in device manager.
1. Open Device Manager.
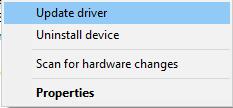
2. In Device Manager, locate and expand Network adapters and then right click the Network driver to Update driver.
3. Hit Search automatically for updated driver software.
Then Windows 10 device manager will scan online for the up-to-date network adapter driver.
But it is not uncommon that you find device manager can’t find the latest network driver for Windows 10. In this case, you would better get the most of Driver Booster to download the updated driver and fix network failure as well. That can fix Chrome can’t be installed more quickly and smoothly.
1. Download, install and run Driver Booster on Windows 10/11.
2. Click the Scan button.
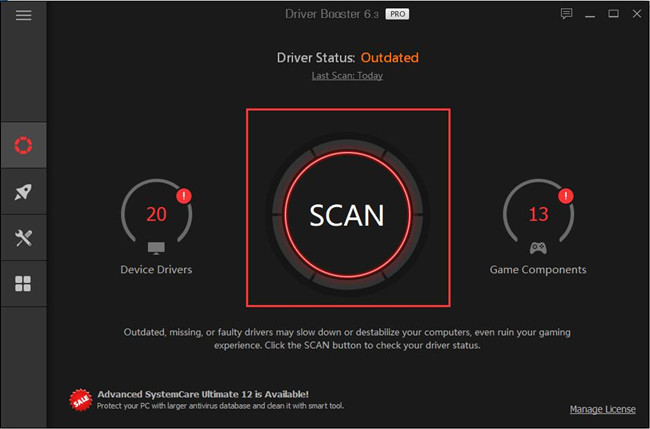
Then you will observe that Driver Booster is scanning your computer for missing, outdated and corrupted drivers, like the WiFi or Ethernet driver.
3. From the search result, locate Network adapters and then Update the network driver automatically.
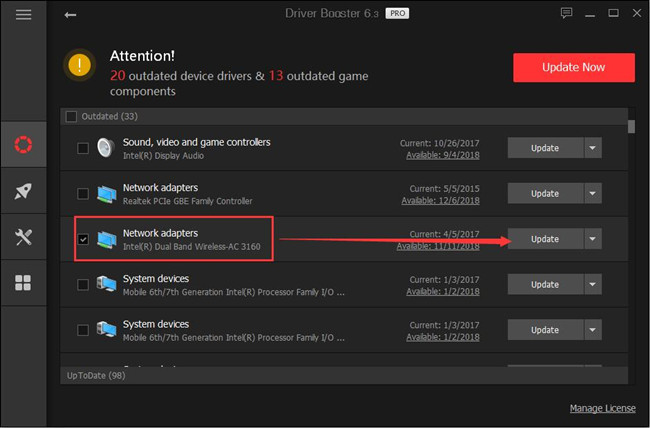
After you install the updated driver, check whether your network, Ethernet or Wireless network, is stable on Windows 10. And then download Chrome again, this time Google Chrome not downloading is removed.
But even if you noticed that Google Chrome is still not allowed on Windows 10 because of the presence of the outdated WIFI driver, it is accessible that you try to get the driver from the official site.
Related: Err_Too_Many Redirects on Chrome
Solution 4: Change Registry Editor for Chrome
In normal cases, you will not be suggested to modify Google Chrome registry editor on Windows 10 in order to solve can’t download Google Chrome for Windows 10.
Registry editor changes can sometimes give rise to data loss, therefore, so long as you are determined to make use of this way, you are supposed to at the very beginning save all your important documents in an external hard drive.
Now it is high time that you followed up to modify Chrome registry editor.
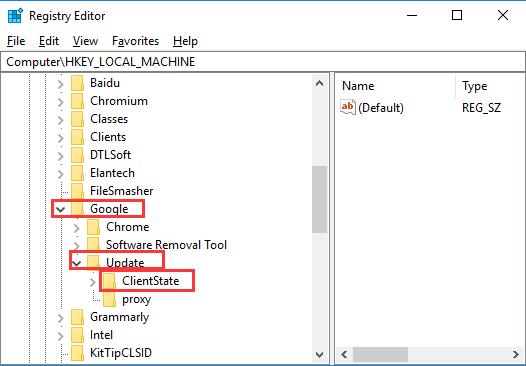
1. Press the combination key Windows + R to elevate the Run box and then in the box, enter regedit. Finally, stroke OK to open the Registry Editor.
2. In Registry Editor, go to HKEY_CURRENT_USER/Google/Update/ClientState.
3. Under ClientState, right click 4DC8B4CA-1BDA-483e-B5FA-D3C12E15B62D to Delete it.
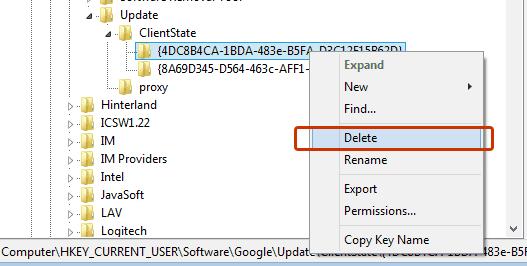
4. Close Registry Editor.
This time you are qualified to reinstall Google Chrome once again and you will find can’t install Chrome Windows 10 has been solved after you delete the sub-folder of Google.
If not, you might as well struggle to delete other registries of the browser in registry editor.
Solution 5: Run Microsoft Application Troubleshooter
As for this Chrome install fails error, in fact, Microsoft has previously offered a tool for you to troubleshoot the problem that blocks programs from being installed.
Now you are also entitled to use this troubleshooter to fix Google Chrome cannot be installed on Windows 10.
1. Download Microsoft app troubleshooter on your computer.
2. Click Open or Run in File Download dialog box to start using this tool.
This troubleshooter is available on Windows 7, 8 and 10 as long as you downloaded it, you are able to take advantage of it to solve various issues, including problems that prevent programs from installing or problems that hinder you from updating any software.
Luckily, Microsoft troubleshooter can completely remove your Chrome unable to install error.
If it is the case, after the browser installation problem is fixed, uninstall this troubleshooter from your PC.
Solution 6: Enable User Account Control
User Account Control (UAC) is a feature on Windows systems that controls the applications, such as software downloading, installation and uninstall.
However, to avoid the annoying notifications from UAC, many of you may have set to disable the User Account Control. But sometimes, this action can prevent Chrome from installing, thus leading to Google Chrome install failed error Windows 10.
So here in this post, to help you resolve Chrome won’t work on Windows 10 after installing, you are to turn on UAC.
1. Type in User Account Control in the search box and then click the result – Change User Account Control settings.
2. In User Account Control Settings, move the slider to the default settings and then hit OK to save changes.
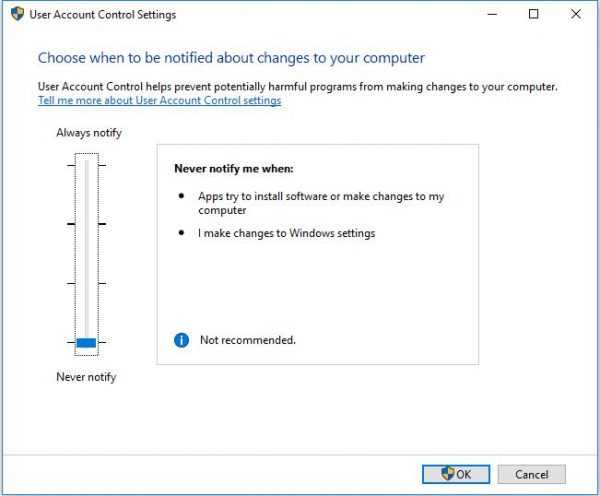
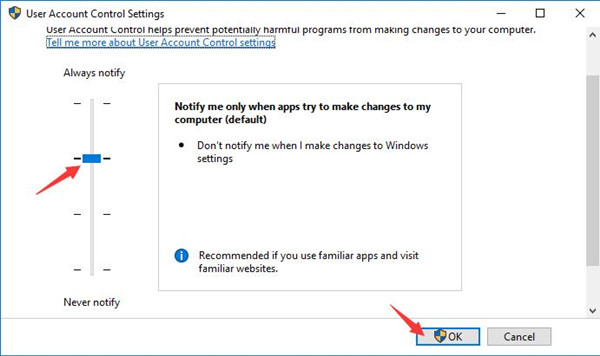
For some people, you might have set UAC as Never notify, you need to change this setting by sliding to the top to turn on User Account Control.
When the User Account Control is opened, manage to install Google Chrome again and check if Chrome won’t install persists on Windows 10.
In a word, with the help of the solutions above in this post, in a large sense, you are able to fix Windows 10 can’t install Chrome problem. Just try the ways one by one until the app installation fails disappeared.
More Articles:
Fix Google Chrome High CPU Usage Problem