Can the clock not sync to the Internet time on Windows 10? You must be annoyed when you come across the problem with update time on Windows 10. Especially in the case where every time you sign in or reboot your computer, the clock on Windows 10 desktop is not syncing with the Internet time.
Solutions:
- 1: Synchronize Time Manually
- 2: Synchronize Time with an Internet Server
- 3: Restart Windows Time Services
- 4: Re-sync Time in PowerShell
Want to synchronize the time on Windows 10 with the Internet Time Server? For many people, you will find your clock failed to sync.
This tutorial will assist you in solving Windows 10 time not syncing issue effectively and easily by way of various time configuration which is associated with time syncing, such as changing time settings in Windows time services and Command Prompt to fix time not syncing issue on Windows 10. And here are solutions for time always wrong on Windows 10.
Solution 1: Synchronize Time Manually
Synchronizing Windows time is necessary and important for people who are working online. By default, Windows updates time automatically.
But sometimes, time cannot synchronized for some unknown reasons, so you should set the clock manually to synchronize with the Internet time.
1. Goes to Settings > Time & Language > Date & Time > Set Time Automatically > Turn off.
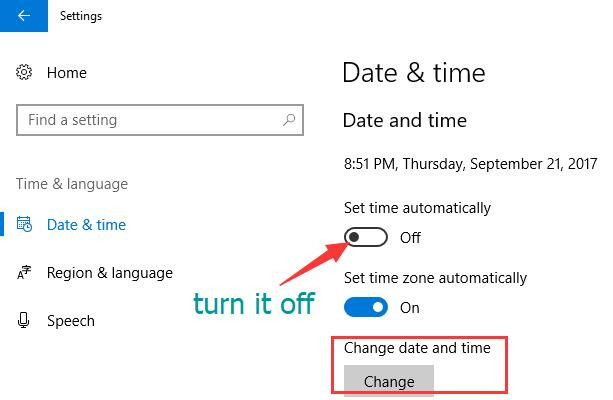
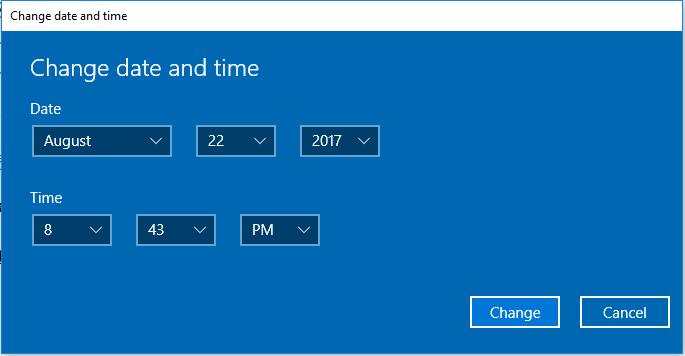
2. In change date and time window, you can set the details to sync with the local time.
Updating time manually is very easy, but the problem lies in that you have to set it so long as it is wrong.
Solution 2: Synchronize Time with an Internet Server
As you can see, syncing time to the Internet time server must be related to the Internet time settings, and in some sense, your clock not syncing on Windows 10 probably arises from the Internet time settings.
When updating time on Windows 10, you can synchronize time with an Internet server, which can help you to get the exact time automatically.
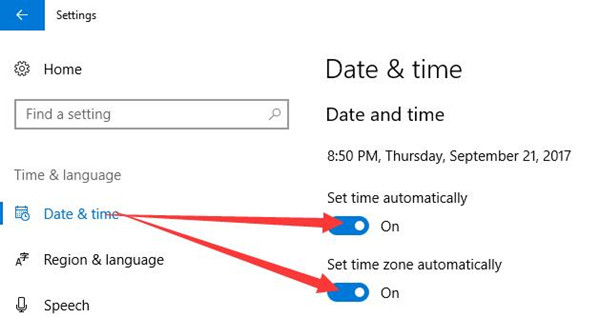
1. At first, you should make sure options of Set time automatically and Set time zone automatically are turned on. You can follow this path to set it: Settings > Time & Language > Date & Time.
2. Follow this path: Control Panel > Date and Time > Internet Time > Change Settings to set Internet time server.
3. Check Synchronize with an Internet Time Serverand then choose a Server, here choose time.windows.com. Click Update now to change the Internet time settings.
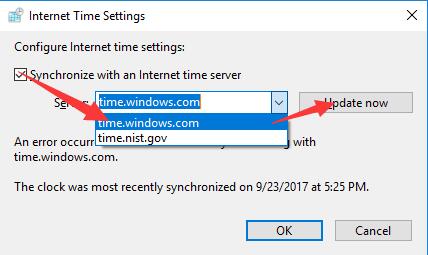
Here if you find that though you have to open the Internet time server — time.windows.com, the clock is still prevented from syncing, you can try to change the Internet server to time.nist.gov and check if it can make the time sync with that on Internet.
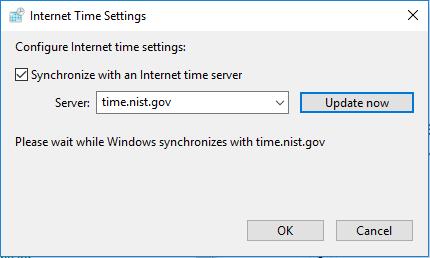
4. In the window, you will see the reminding word that “Please wait while Windows synchronizes with time.nist.gov“.
Soon Windows 10 will automatically sync your clock with the Internet. At this moment, you are entitled to make your time synchronized. And it is no wonder that time not syncing on Windows 10 can be resolved.
There is another problem that when you synchronize the time, an error may appear reminding you that the RPC server is unavailable. If you meet this error when synchronizing time, you should restart the Remote Procedure Call(RPC) service.
Solution 3: Restart Windows Time Services
Usually, if the services about the time on Windows 10 is stopped, there is no doubt that you cannot synchronize the time to the Internet server. Therefore, you would better start or restart the Windows Time in Services.
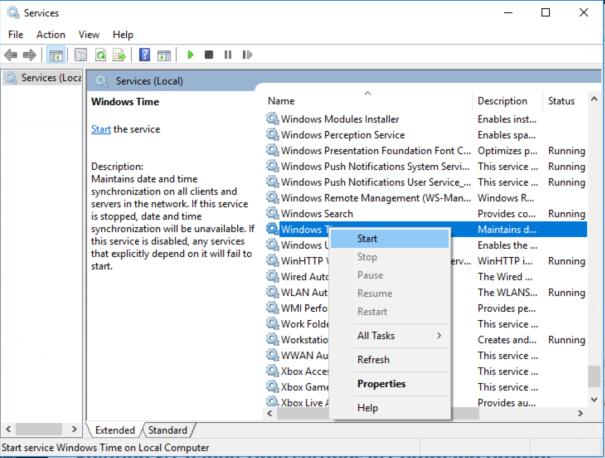
1. Type Services in the search box and press Enter.
2. Scroll down to find out Windows time and right click it to Start it.
Tips:
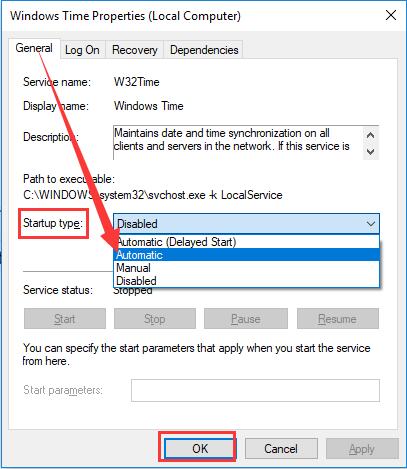
If you do not want to restart it every time, you should choose Windows Time > Properties > General > Startup Type > Automatic.
As long as you opened the Windows time services on Windows 10, you are able to make the time synchronized as well. And what’s more, adjusting time settings is also available.
In a large sense, if you have started Windows time services on Windows 10, you can change the related time settings in command prompt.
Solution 4: Re-sync Time in PowerShell
Using commands to fix the time not synchronize problem is another way. If your computer cannot update the time in some conditions and the above method is no help, you can try this way.
In Powershell, a command below will set the time settings to default and help you update windows time again.
1. Search PowerShell in the search box and right click to select Run as Administrator.
2. In the opening window, type these commands step by step:
net stop w32time – – – – – – – – -(annotation: stop windows time services)
w32tm /unregister – – – – – – – – – (annotation: unregister windows time services)
w32tm /register – – – – – – – – – (annotation: register windows time services again)
net start w32time – – – – – – – – – (annotation: restart windows time services)
w32tm /resync /nowait – – – – – – – (annotation: Resynchronize Windows time)
Once you have altered the time syncing settings and reboot Windows 10, you will find your clock is synchronized with the Internet time and Windows 10 time not syncing problem is thus solved without question.
Obviously, from this tutorial, you are capable of getting the skills about how to make the time sync to the Internet time on Windows 10 by different time resetting. And you have solved the time syncing issue for Windows 10, you can also fix other date and time issues on Windows 10.
More Articles:
How to Add Clock on Windows 10 Desktop
2 Comments
Leave a Response


the powershell fixed it for me, thanks!
solution 4 works.
then i can push sincronize button and it works.